Introduction
Got vinyl? Get cleaning! If you're a serious record collector, then you know the drill. Dust, dirt, and grime are your vinyl's worst enemies, and they love to crash the party over time. So, crank up the volume on cleanliness and make your records shine again. It's not just about looking good—it's about sounding great!
These minute particles can become embedded in the grooves of the vinyl, causing static, crackling, and other unwanted noise during playback. This not only disrupts the listening experience but can also lead to serious wear and tear on both the record itself and the stylus of your record player.
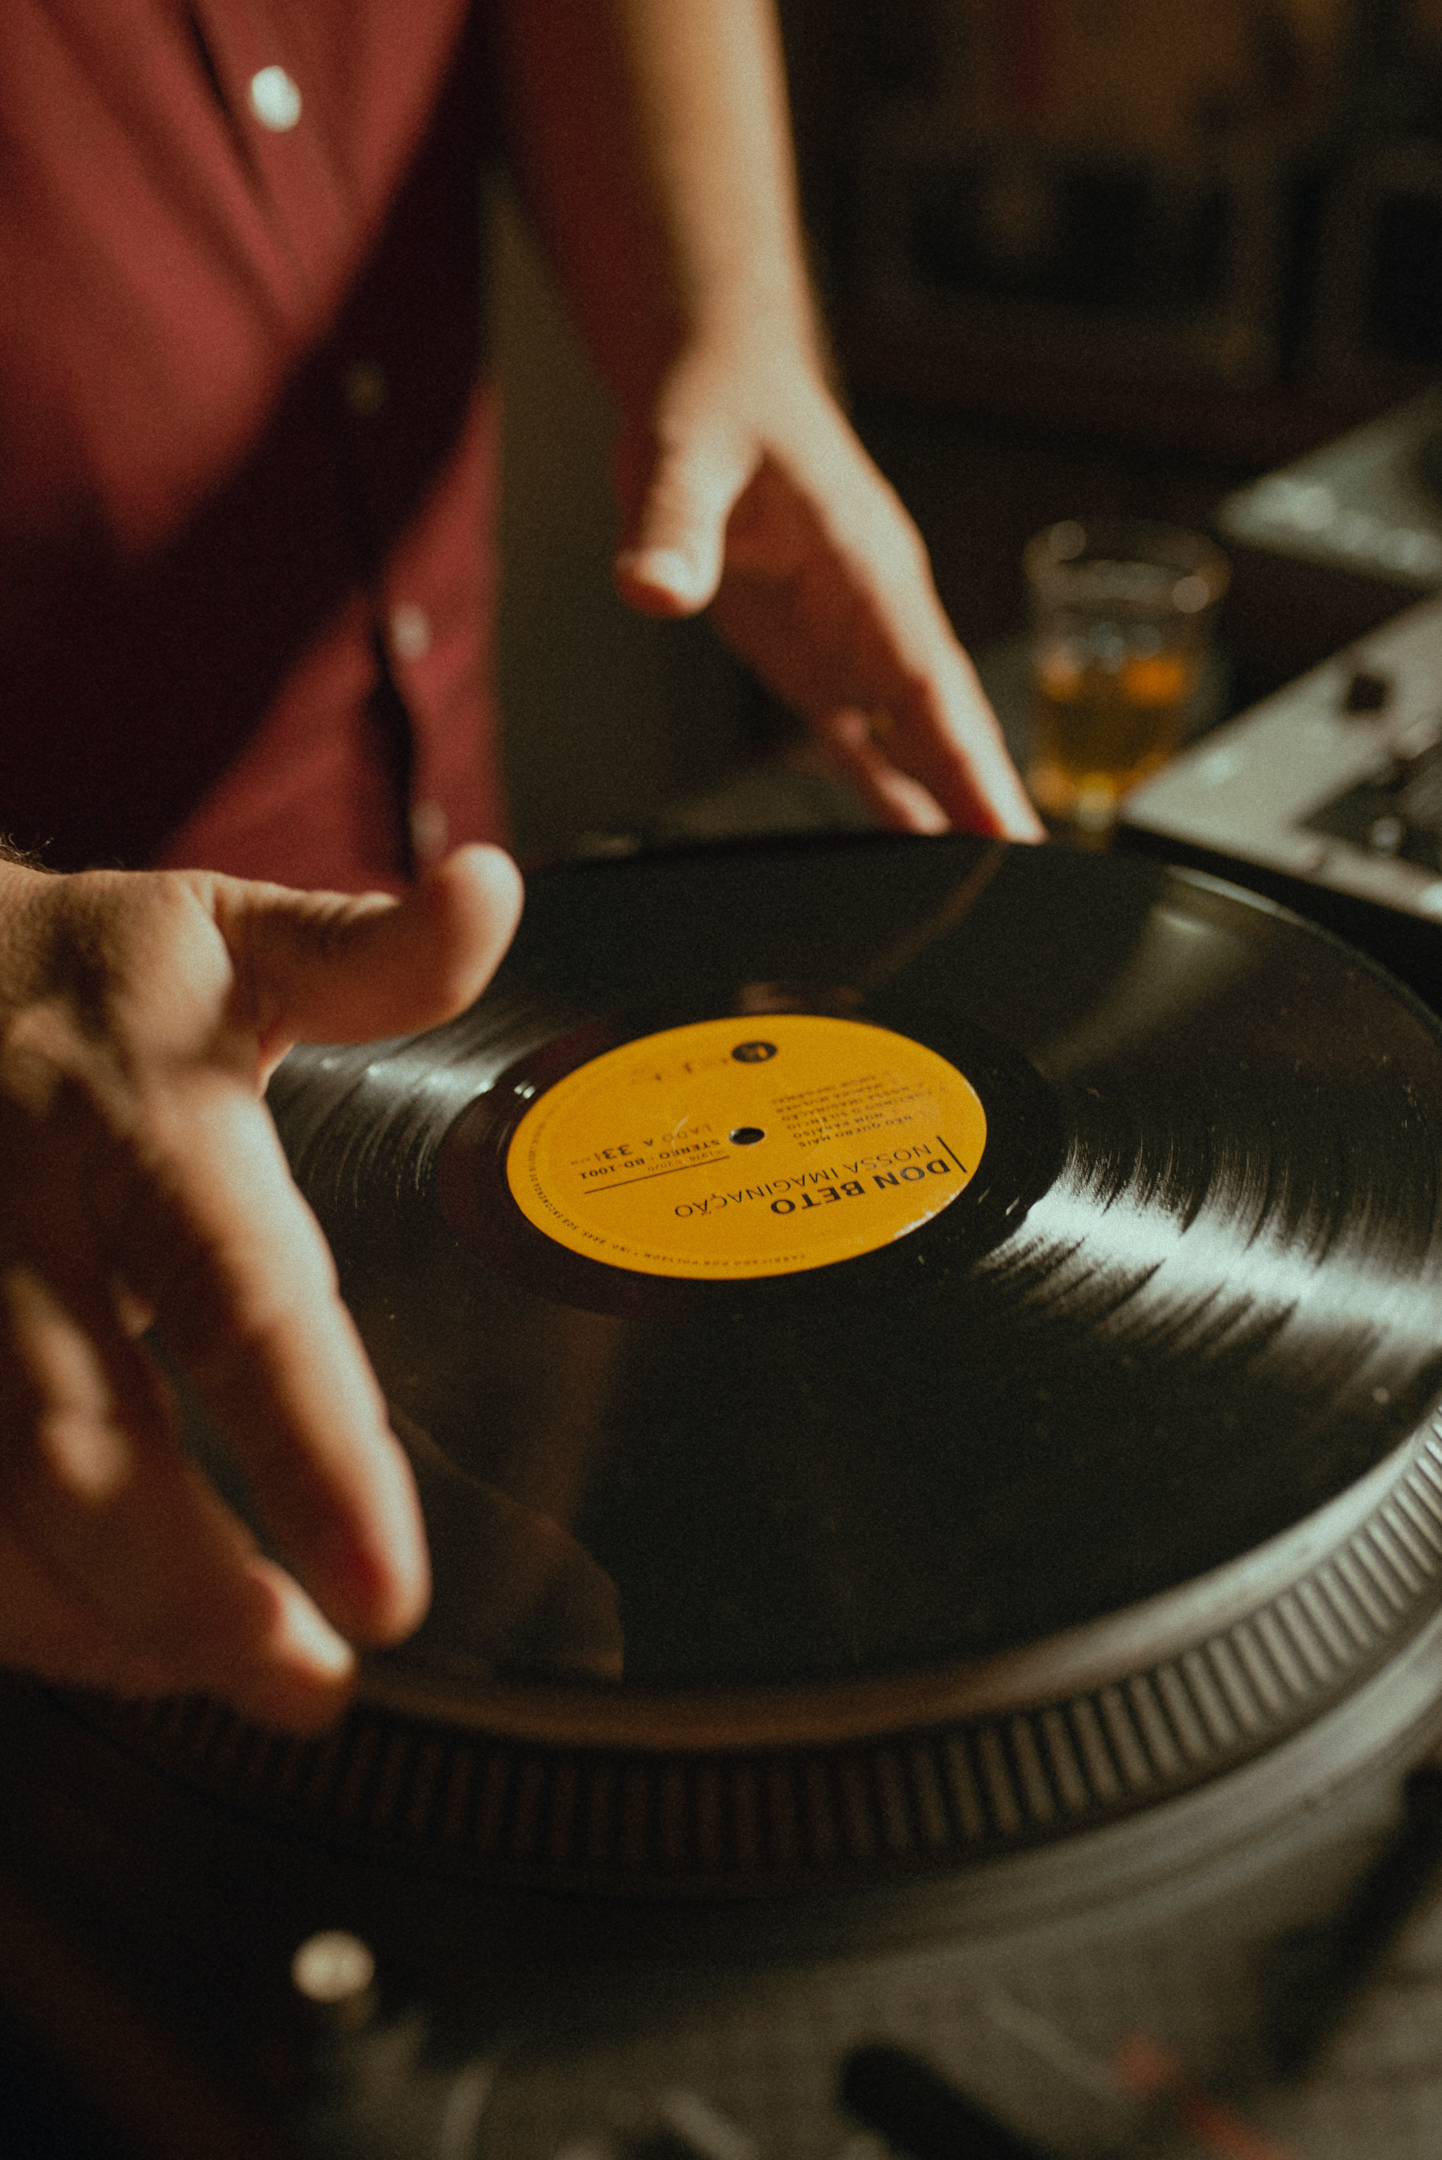
The process of cleaning vinyl records involves several steps, each designed to gently remove these impurities without causing damage to the delicate vinyl surface. From the careful application of a specially formulated cleaning solution to the gentle scrubbing of the record's surface with a soft cloth or brush, each step plays a crucial role in maintaining the record's integrity and sound quality.
In addition to improving sound quality, regular cleaning also helps to extend the lifespan of your records and stylus. Dirt and dust can cause the stylus to wear out faster, leading to subpar audio quality and potential damage to your records. By keeping your vinyl records clean, you're not just preserving your collection, you're also protecting your investment in your record player and stylus.
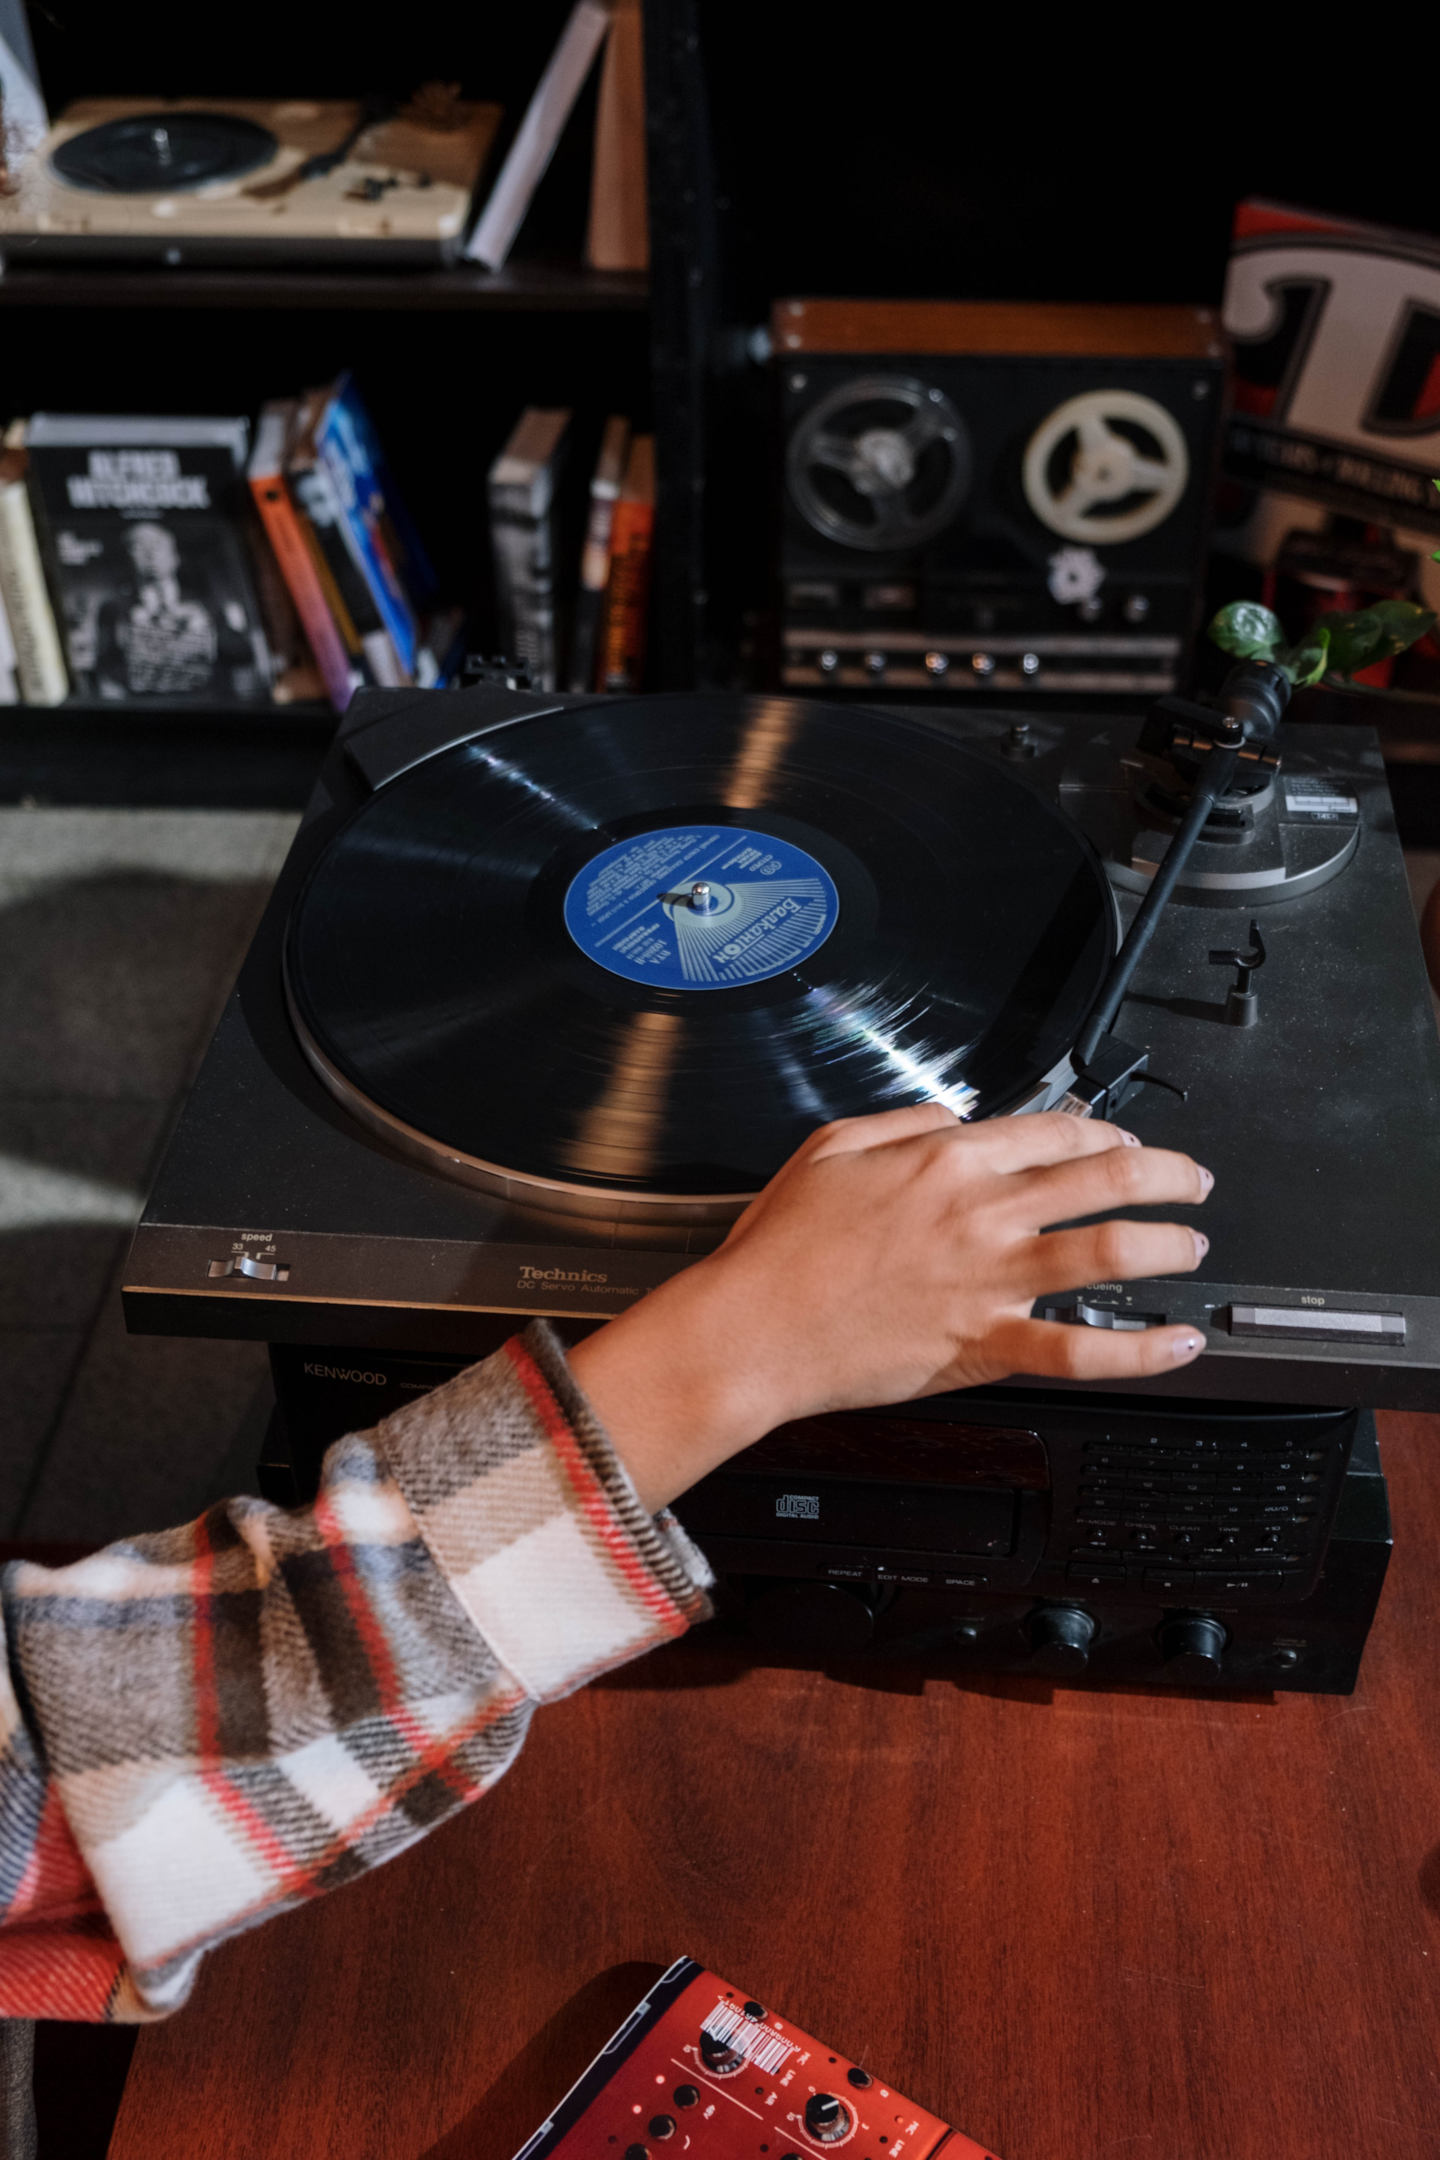
Ready to spin your vinyl records into top-notch shape? This article is your ultimate backstage pass to maintaining a record collection that's as flawless as the day you bought it. Get ready for a deep dive into the world of vinyl care, where every groove counts!
Understanding Vinyl Records
Vinyl records have long been cherished by music enthusiasts around the world. Revered for their superior sound quality, records provide an audio experience that's often described as warmer and more nuanced than digital formats. The tactile nature of handling vinyl, combined with the rich, immersive sound it offers, creates a unique, engaging way to enjoy music.
However, this beloved format does come with its own set of responsibilities, particularly when it comes to maintenance. One key aspect of this is the crucial task of keeping your records clean. This is something that is often overlooked by beginners, but it is fundamental to the longevity and performance of your vinyl collection.
Dirt, dust, and other particles can easily build up on the surface of the vinyl and within the grooves where the stylus travels to produce sound. This buildup can not only result in pops, crackles, and other unwanted noise during playback but can also cause physical damage to both the surface of the record and the stylus over time. It's akin to trying to read a book with dirty glasses - you might be able to make out the story, but the experience is far from ideal.
Cleaning your vinyl records regularly and correctly can help preserve their sound quality and extend their lifespan.
For beginners, it's important to learn the right techniques and develop good cleaning habits early on. This includes understanding how to handle records properly (always by the edges and label, never touching the grooves), knowing what cleaning solutions are safe to use, and storing records correctly to minimize exposure to dust and other damaging elements.
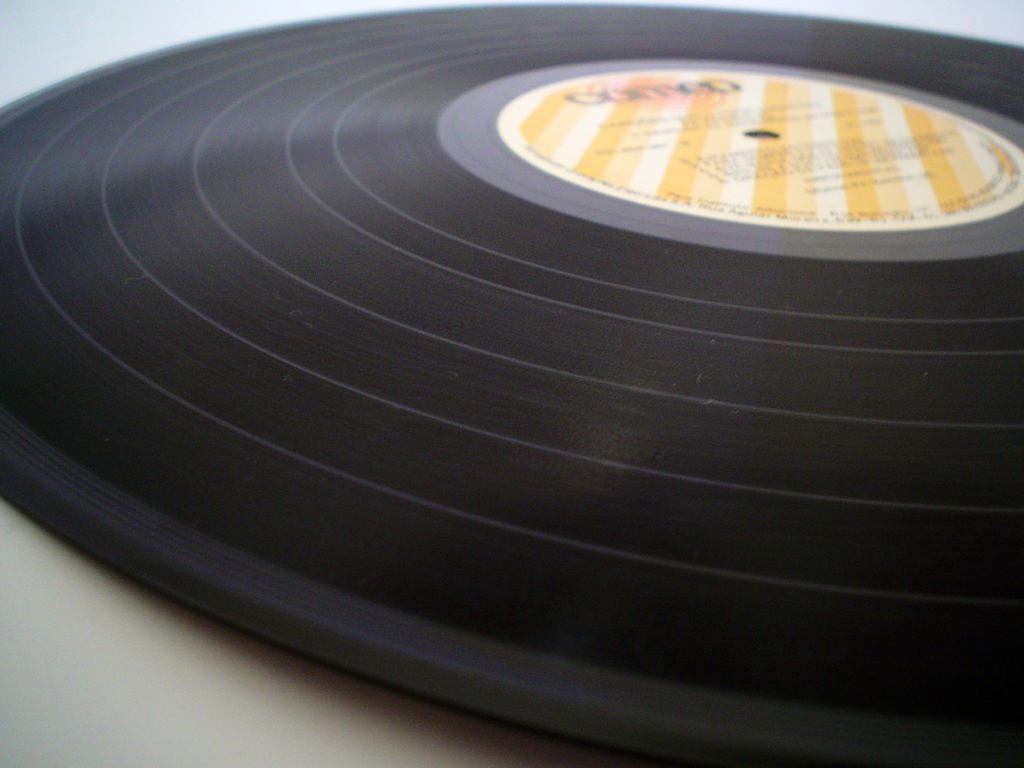
Vinyl records require a bit of care to maintain that quality. Cleaning your records is an essential part of vinyl ownership, one that every beginner should take the time to learn and incorporate into their regular vinyl listening routine.
Also check out: Ever wondered about the role of a tonearm in your turntable's performance? Dive into this enlightening article on What is a Tonearm and How Does It Affect Turntable Performance to understand its function and importance in ensuring optimal sound quality. Knowledge is power, especially when it comes to enhancing your vinyl listening experience!
The Impact of Dirty Vinyl Records
Dust accumulation on the surface of the record can lead to unwanted noise and serious wear on your stylus.
When a vinyl record is played, the stylus, or needle, of the record player travels along the grooves on the record's surface. These grooves are where the recorded sound information is stored, and any dirt or dust in these grooves can significantly affect the quality of the sound reproduced.
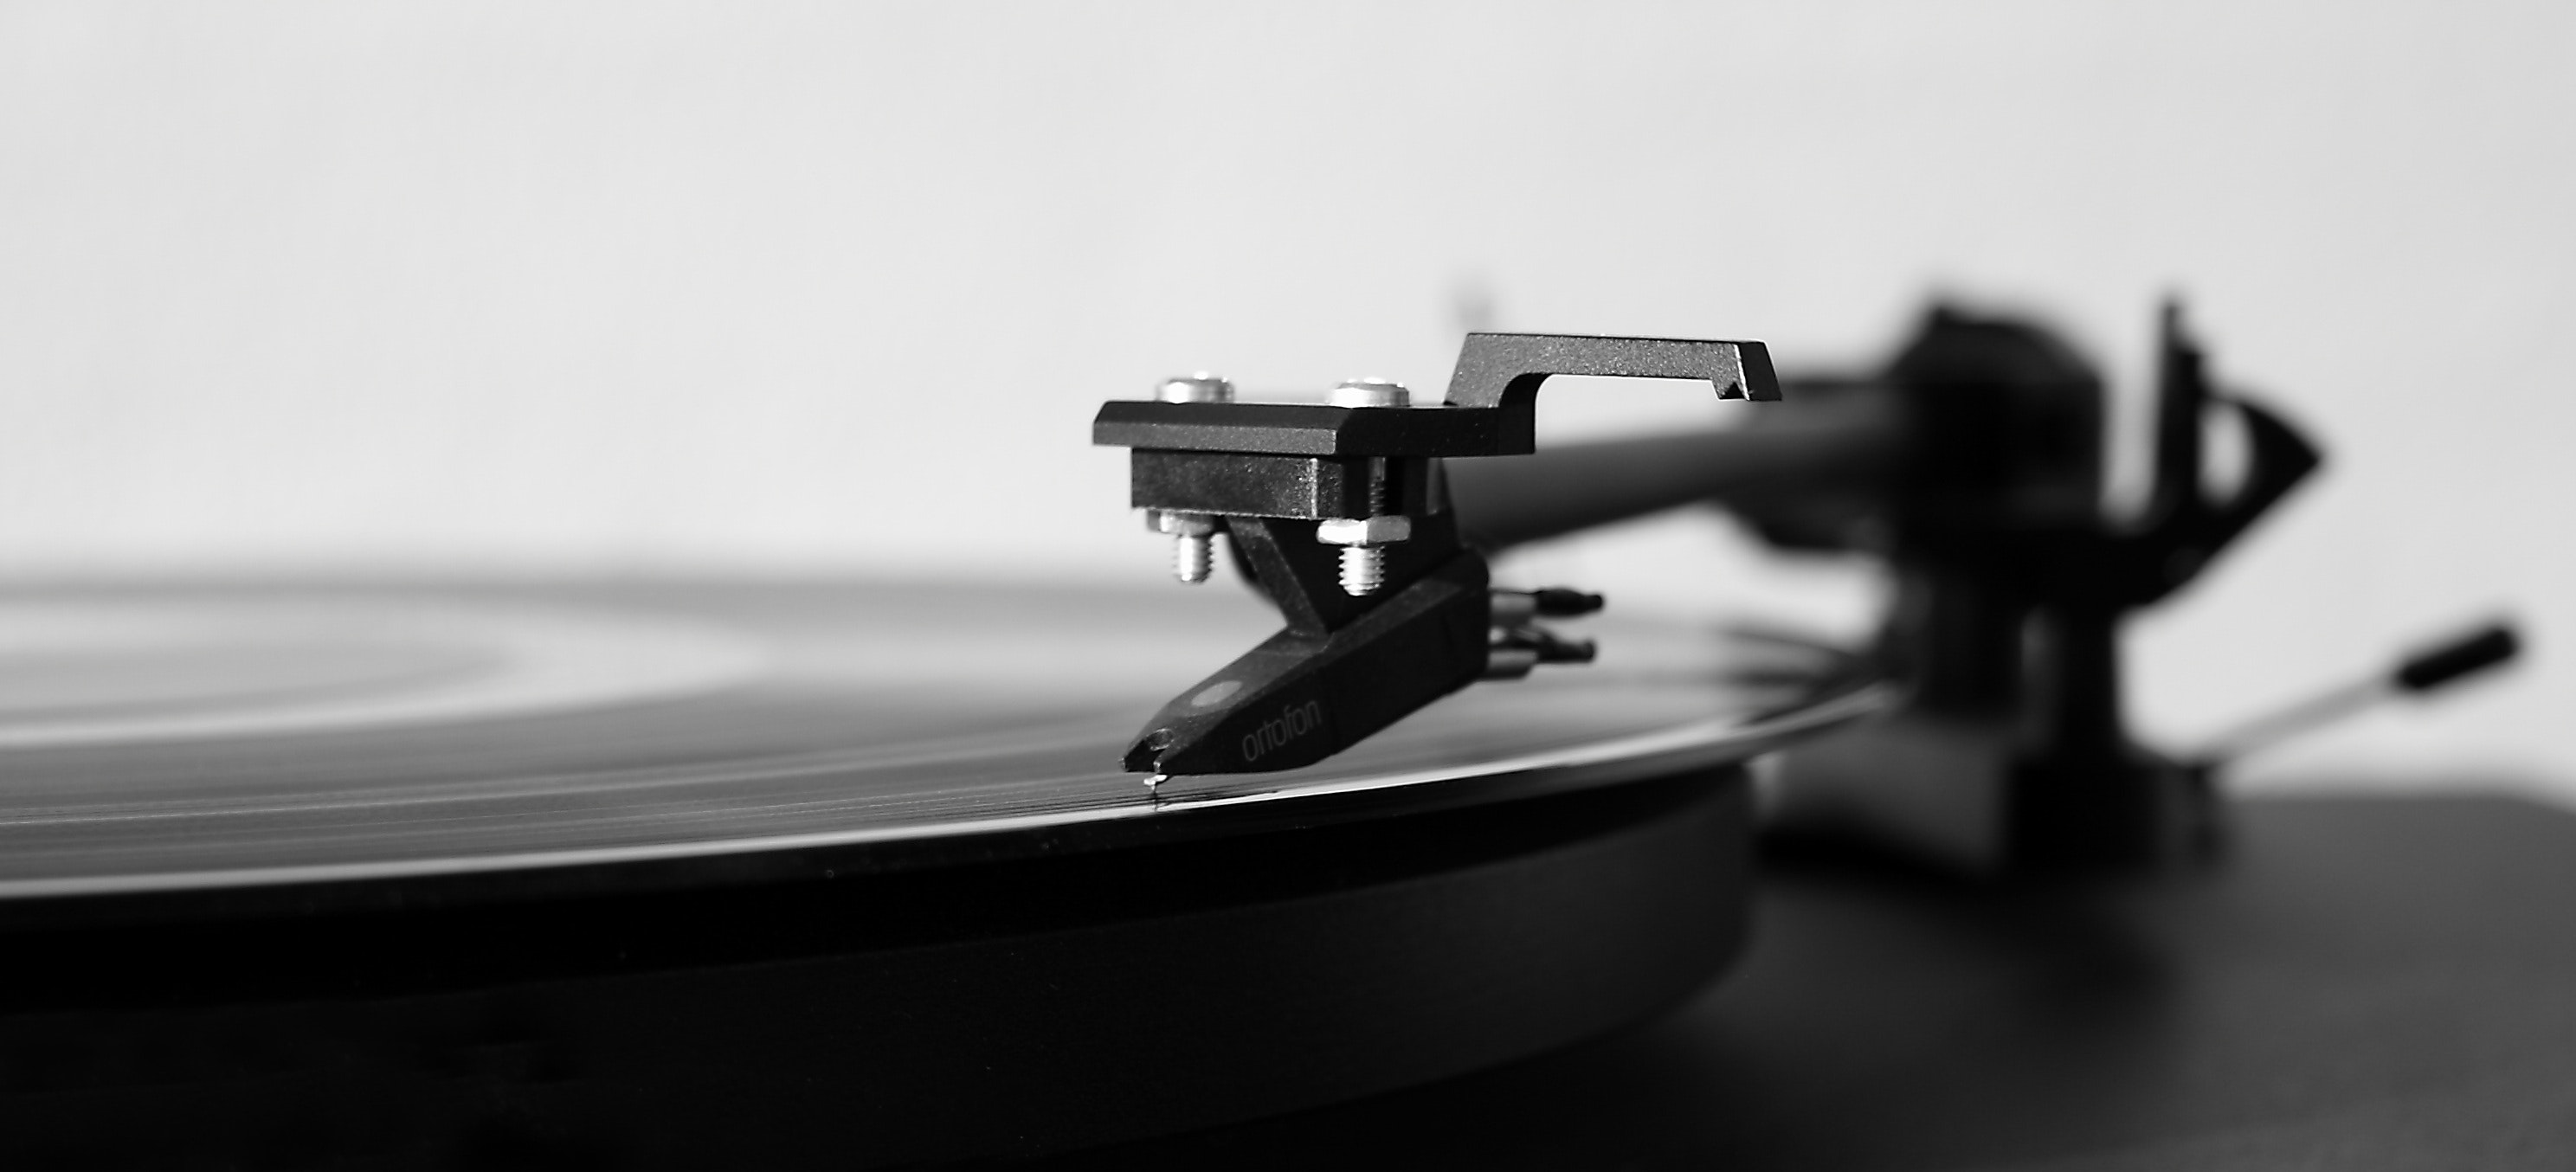
A dirty record can cause various audible issues during playback. You might hear pops, clicks, hisses, or even skipping, all of which disrupt the listening experience. Over time, this buildup of dust and grime can lead to a duller sound, as the stylus is unable to accurately trace the grooves and reproduce the sound as intended.
But the impact of a dirty record goes beyond just the sound quality. The accumulated dirt and debris can also cause physical wear and tear on your record player's stylus. As the stylus navigates the grooves of a dirty record, it comes into contact with dust and grime, causing it to wear down faster. This not only leads to a degradation in sound quality but can also result in damage to your records over time.
As the stylus wears down, it can start to mis-track, meaning it no longer follows the grooves accurately. Mis-tracking can cause the stylus to jump out of the groove or track too heavily, both of which can scratch or otherwise damage the vinyl. In severe cases, a worn-down stylus might even carve new grooves into the record, permanently damaging it.
Preparing for Cleaning Vinyl Records
Before you start the process of cleaning your vinyl records, it's important to gather all the necessary materials. This preparation stage ensures that you have everything you need at hand, making the cleaning process smoother and more efficient.
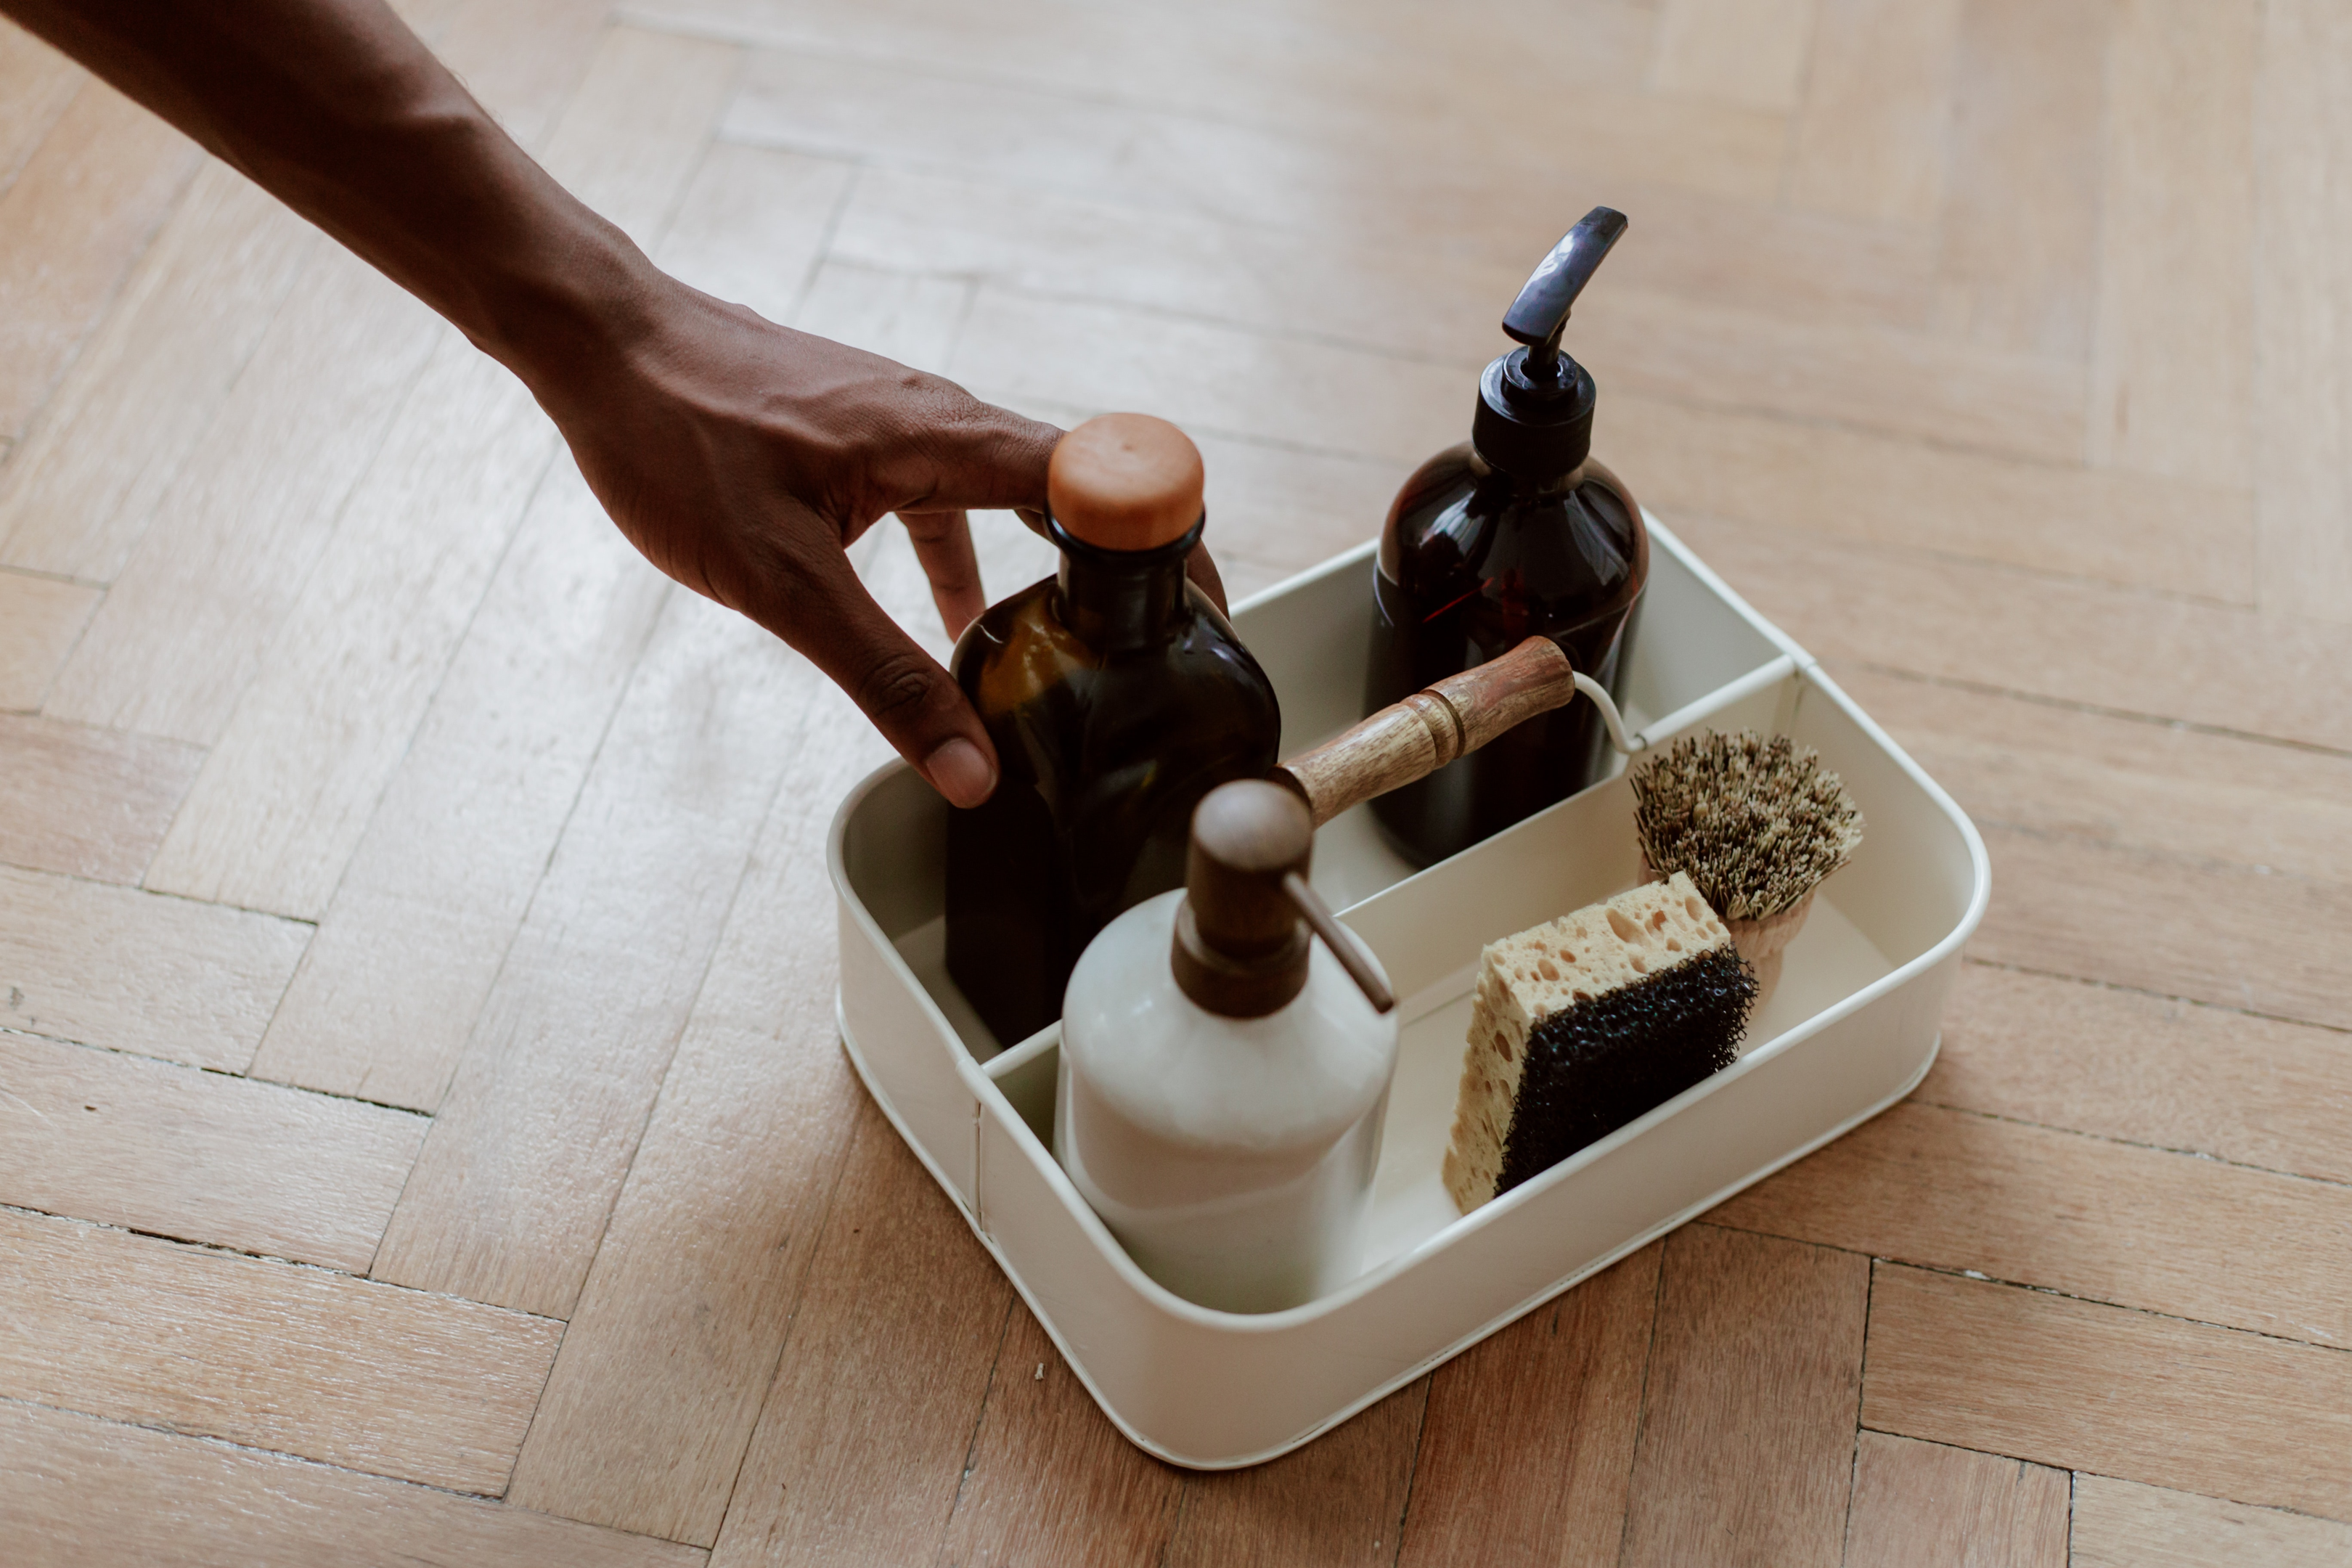
The first item you'll need is a record-cleaning solution. This can either be a commercially available solution specifically designed for vinyl records or a homemade solution. If you opt for a homemade solution, a mix of a few drops of dish soap and distilled water can work effectively.
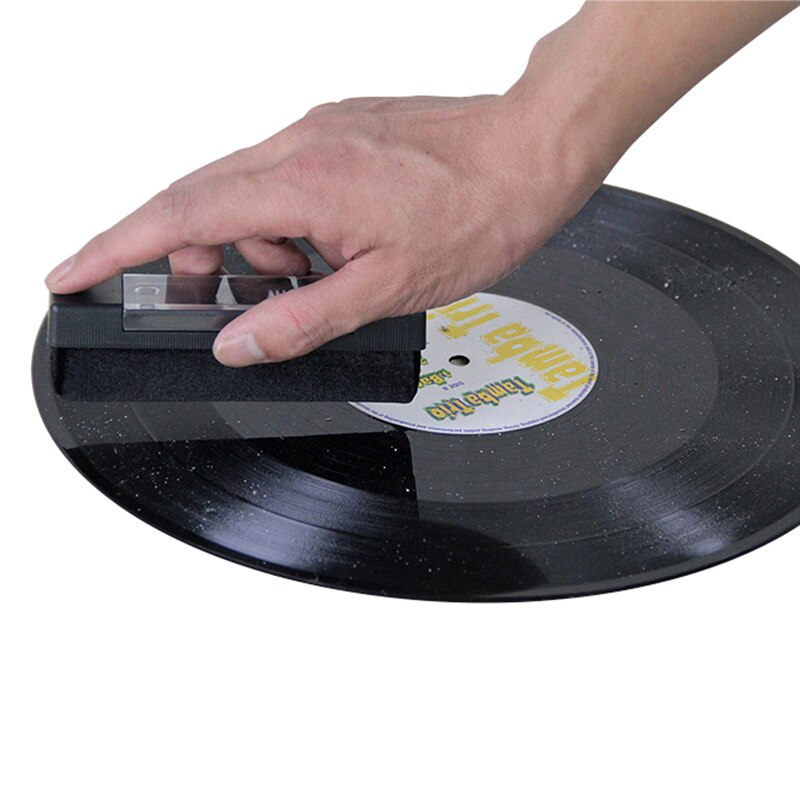
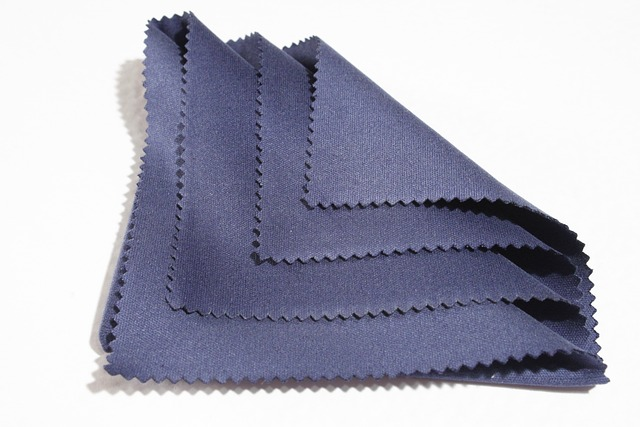
Next, you'll need a clean microfiber cloth or a record brush. Microfiber cloths are a popular choice due to their soft texture and ability to attract dust. Record brushes, particularly those with carbon fibers, are also effective at removing dust and static electricity from the record's surface. Whichever you choose, ensure it's clean and free of any debris that could scratch the record.
Distilled water is another essential item for cleaning your records. Unlike tap water, distilled water doesn't contain minerals that can leave residue on your records. It's used to rinse the record after applying the cleaning solution and to dampen your cloth or brush for cleaning.
Once you've gathered your materials, the next step is to set up a suitable space for cleaning your records. This space should be clean, flat, and large enough to comfortably accommodate the entire record. Ideally, it should also be somewhere where the record can be left to dry undisturbed.
When laying your record down, be sure to protect the record label from getting wet. Some people use label protectors, but if you don't have one, you can carefully clean around the label or hold the record in a way that prevents the label from coming into contact with the cleaning solution or water.
Proper preparation is key to effectively cleaning your vinyl records. By gathering the right materials and setting up an appropriate cleaning space, you're well on your way to maintaining the quality and longevity of your beloved vinyl collection.
Choosing the Right Cleaning Solution for Vinyl Records
When it comes to cleaning your vinyl records, choosing the right cleaning solution is crucial. Thankfully, there are a plethora of record cleaning solutions available both at physical record stores and online. These solutions are specially formulated to effectively clean the delicate surface of vinyl records without causing any damage.
At a brick-and-mortar record store, you'll often find a selection of cleaning solutions from various brands. Staff members at these stores are typically knowledgeable about vinyl care and can provide useful advice on choosing the best cleaning solution for your needs. From concentrated cleaning fluids that need to be diluted with distilled water to ready-to-use sprays, the choices are abundant.
Online shopping platforms offer an even wider variety of record-cleaning solutions. Websites like Amazon, eBay, and specialized audio equipment stores carry a vast range of products from different manufacturers around the world. You can find everything from high-end professional-grade solutions used by record cleaning services to more budget-friendly options suitable for everyday use.

When selecting a vinyl record cleaning solution, it's important to read the product description and reviews carefully. Look for a solution that is specifically designed for vinyl records. Avoid products that contain alcohol, as it can potentially dry out and damage the vinyl over time.
Some cleaning solutions come in kits that also include a brush or cloth, which can be a convenient option, especially for those new to vinyl record cleaning.
Remember, while the choice of cleaning solution is important, it's just one part of the overall cleaning process. Even the best cleaning solution won't be effective if not used properly.
Ensure you understand how to clean your vinyl records and records correctly and follow the recommended steps to maintain the quality and longevity of your vinyl collection.
Creating Your Own Record Cleaning Solution For Vinyl Records
Creating your own vinyl record cleaning solution can be a cost-effective cleaning method. All you need is distilled water, a few drops of dish detergent, and isopropyl alcohol. Mix these together, and you have a DIY cleaning fluid ready to go.
The Cleaning Process: Step-by-Step Guide
Initial Inspection of the Vinyl Record
The first step in the cleaning process should always be a thorough inspection of the vinyl record. This initial examination helps you identify areas of heavy dust or grime that may require extra attention during cleaning.
To inspect your record, hold it by the edges to avoid transferring oils from your fingers onto the vinyl surface. Tilt it under a light source and rotate it slowly, allowing the light to reflect off the surface. This will make it easier to spot areas of dirt, dust, and other particles.
Look closely at the grooves. These are the areas where dust and grime tend to accumulate the most. If you notice any fingerprints, smears, or other marks on the record, take note of these as well.
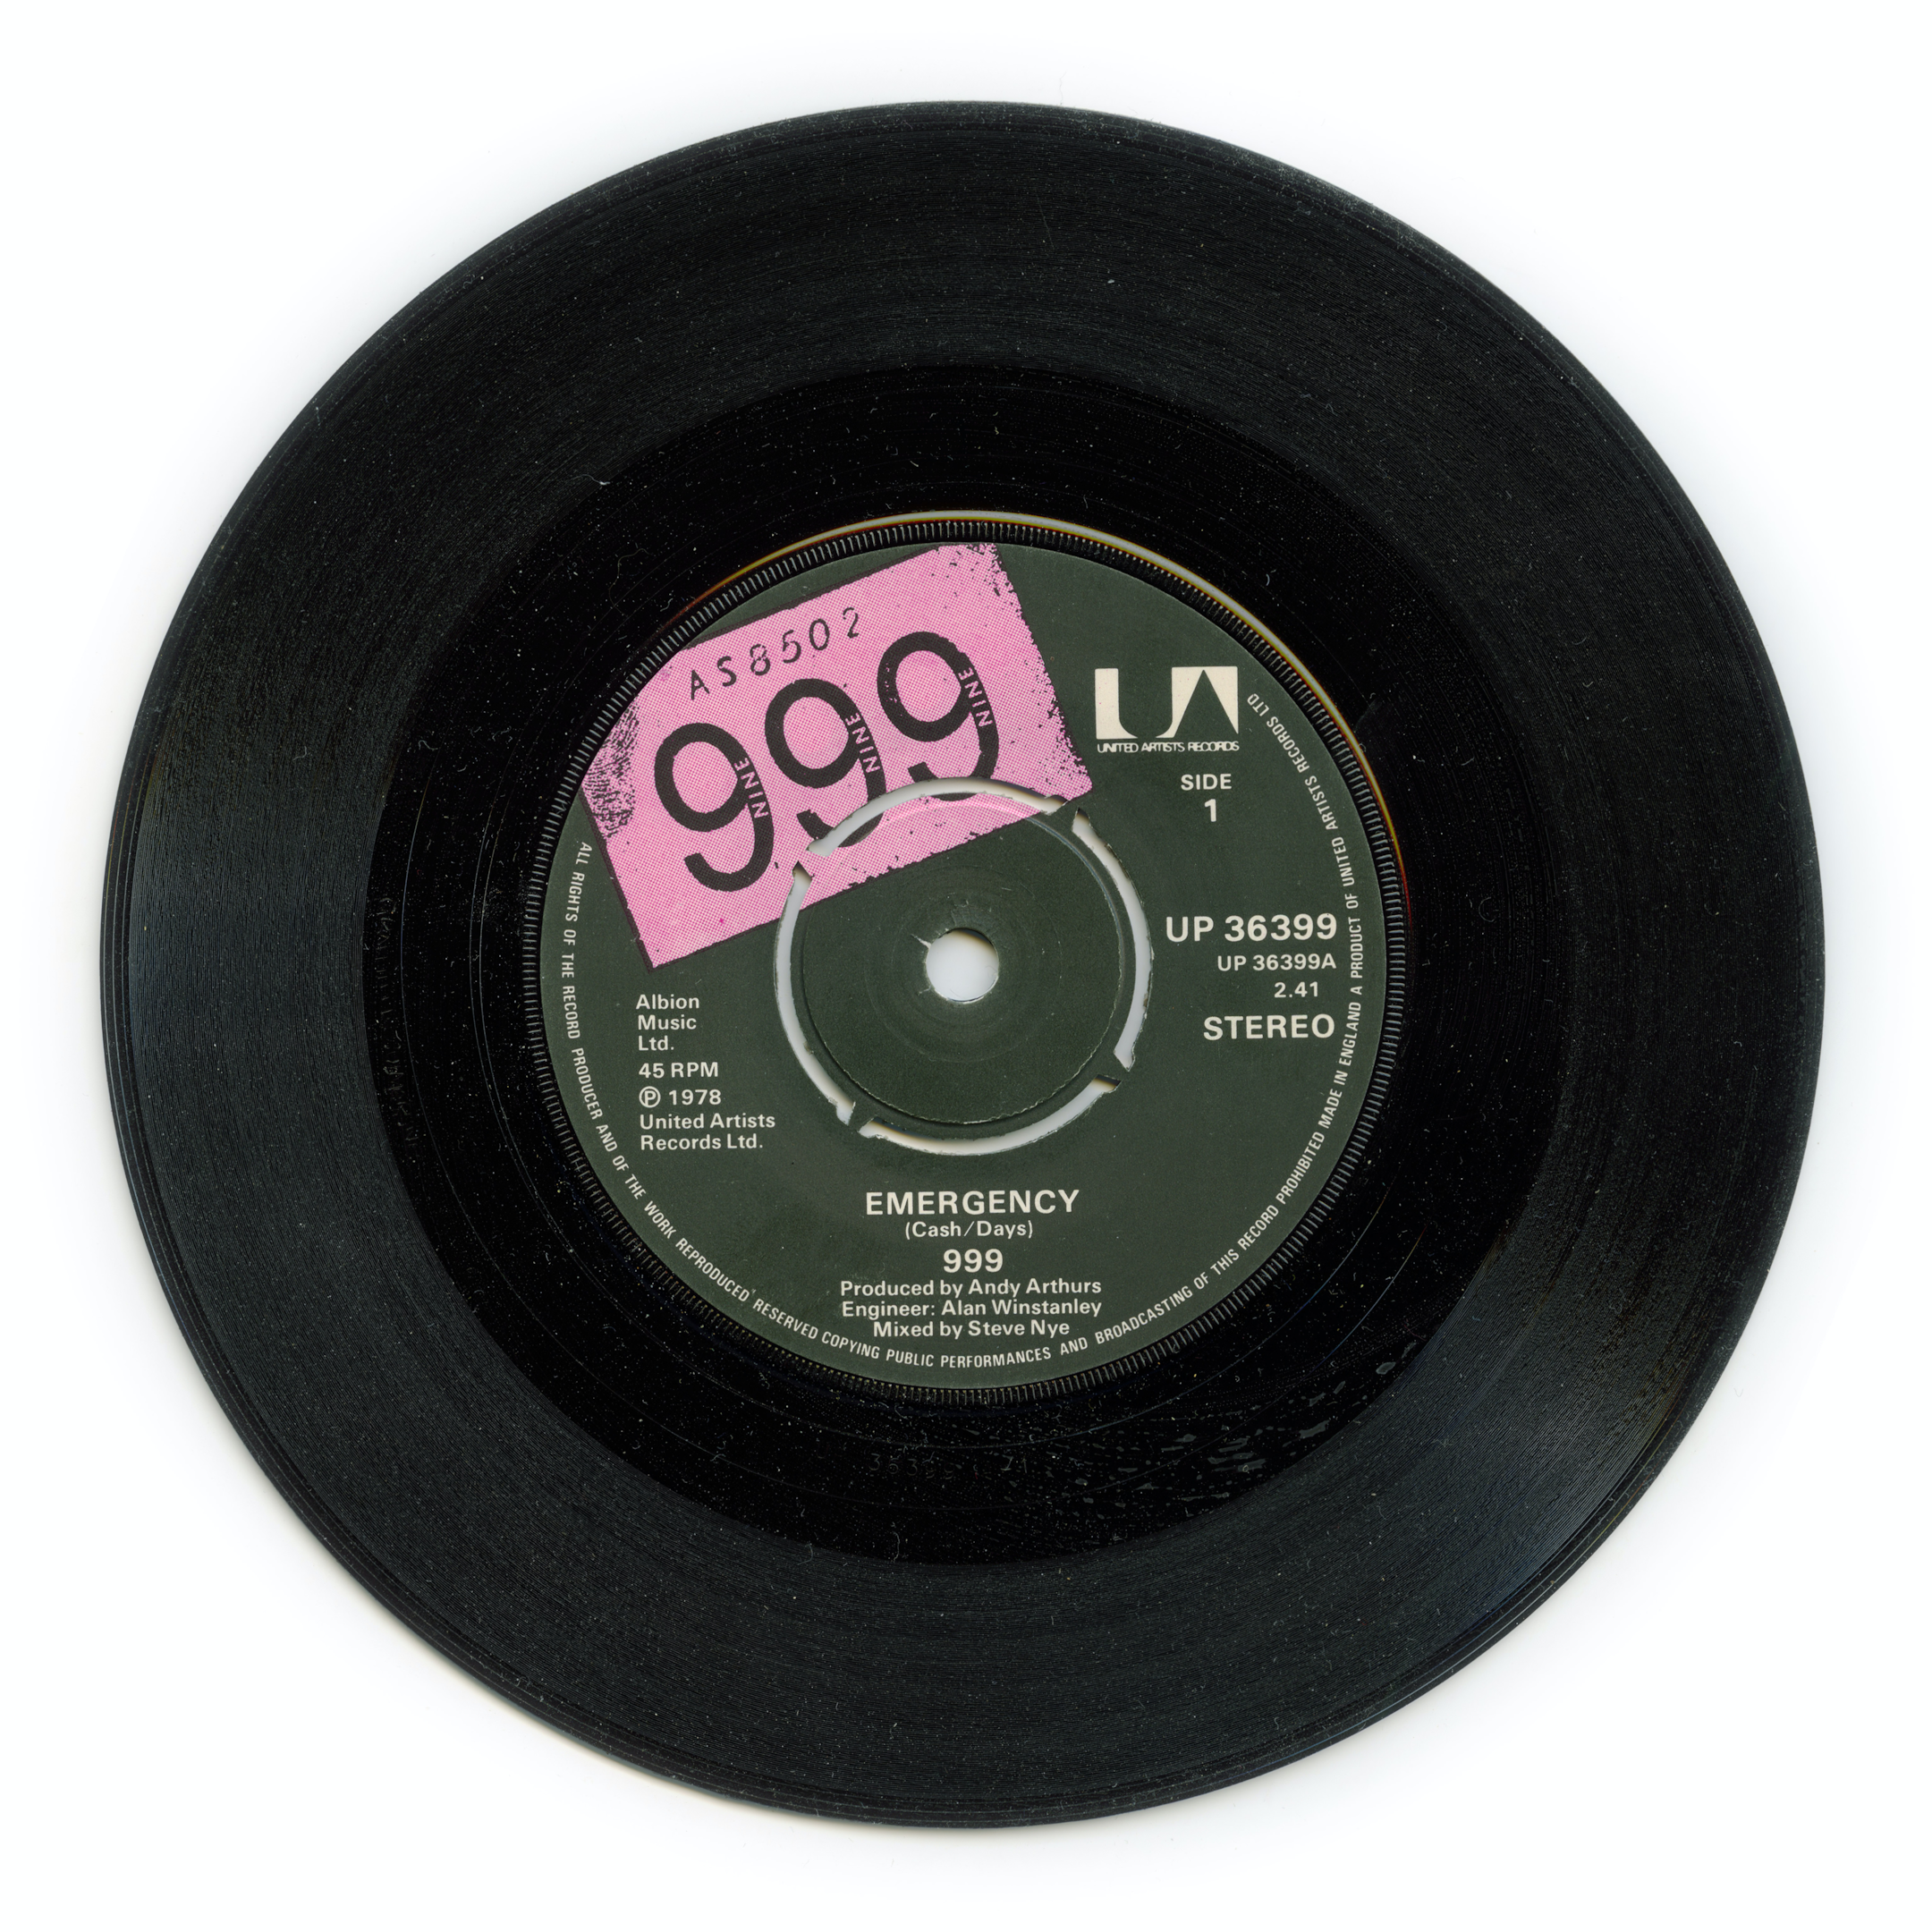
It's also important to check both sides of the vinyl. Flip the record over carefully, holding it by the edge and the label to avoid touching the grooves, and repeat the inspection process.
Do not forget to inspect the record label too. While it's not part of the audio playback, a clean label can help maintain the overall aesthetic and value of the record.
Keep in mind that the label should never come into contact with water or cleaning solution as this can cause damage.
This careful inspection not only helps you tailor your cleaning method to each record's needs but also allows you to assess the condition of your vinyl. You may find scratches, warps, or other physical damage that cleaning won't fix. In such cases, it might be best to seek professional advice or consider replacing the record if it's severely damaged.
A thorough inspection is an essential first step in the record-cleaning process. It helps you understand what you're dealing with and plan your cleaning strategy accordingly, ensuring a more effective and tailored cleaning process for each record in your collection.
Applying the Cleaning Solution to the Vinyl Record
Apply your cleaning fluid, whether it's a commercial record cleaning solution or a homemade mixture, to a lint-free cloth or record cleaner. Avoid using household cleaning products as they may damage the record grooves.
Gentle Scrubbing Techniques for Vinyl Records
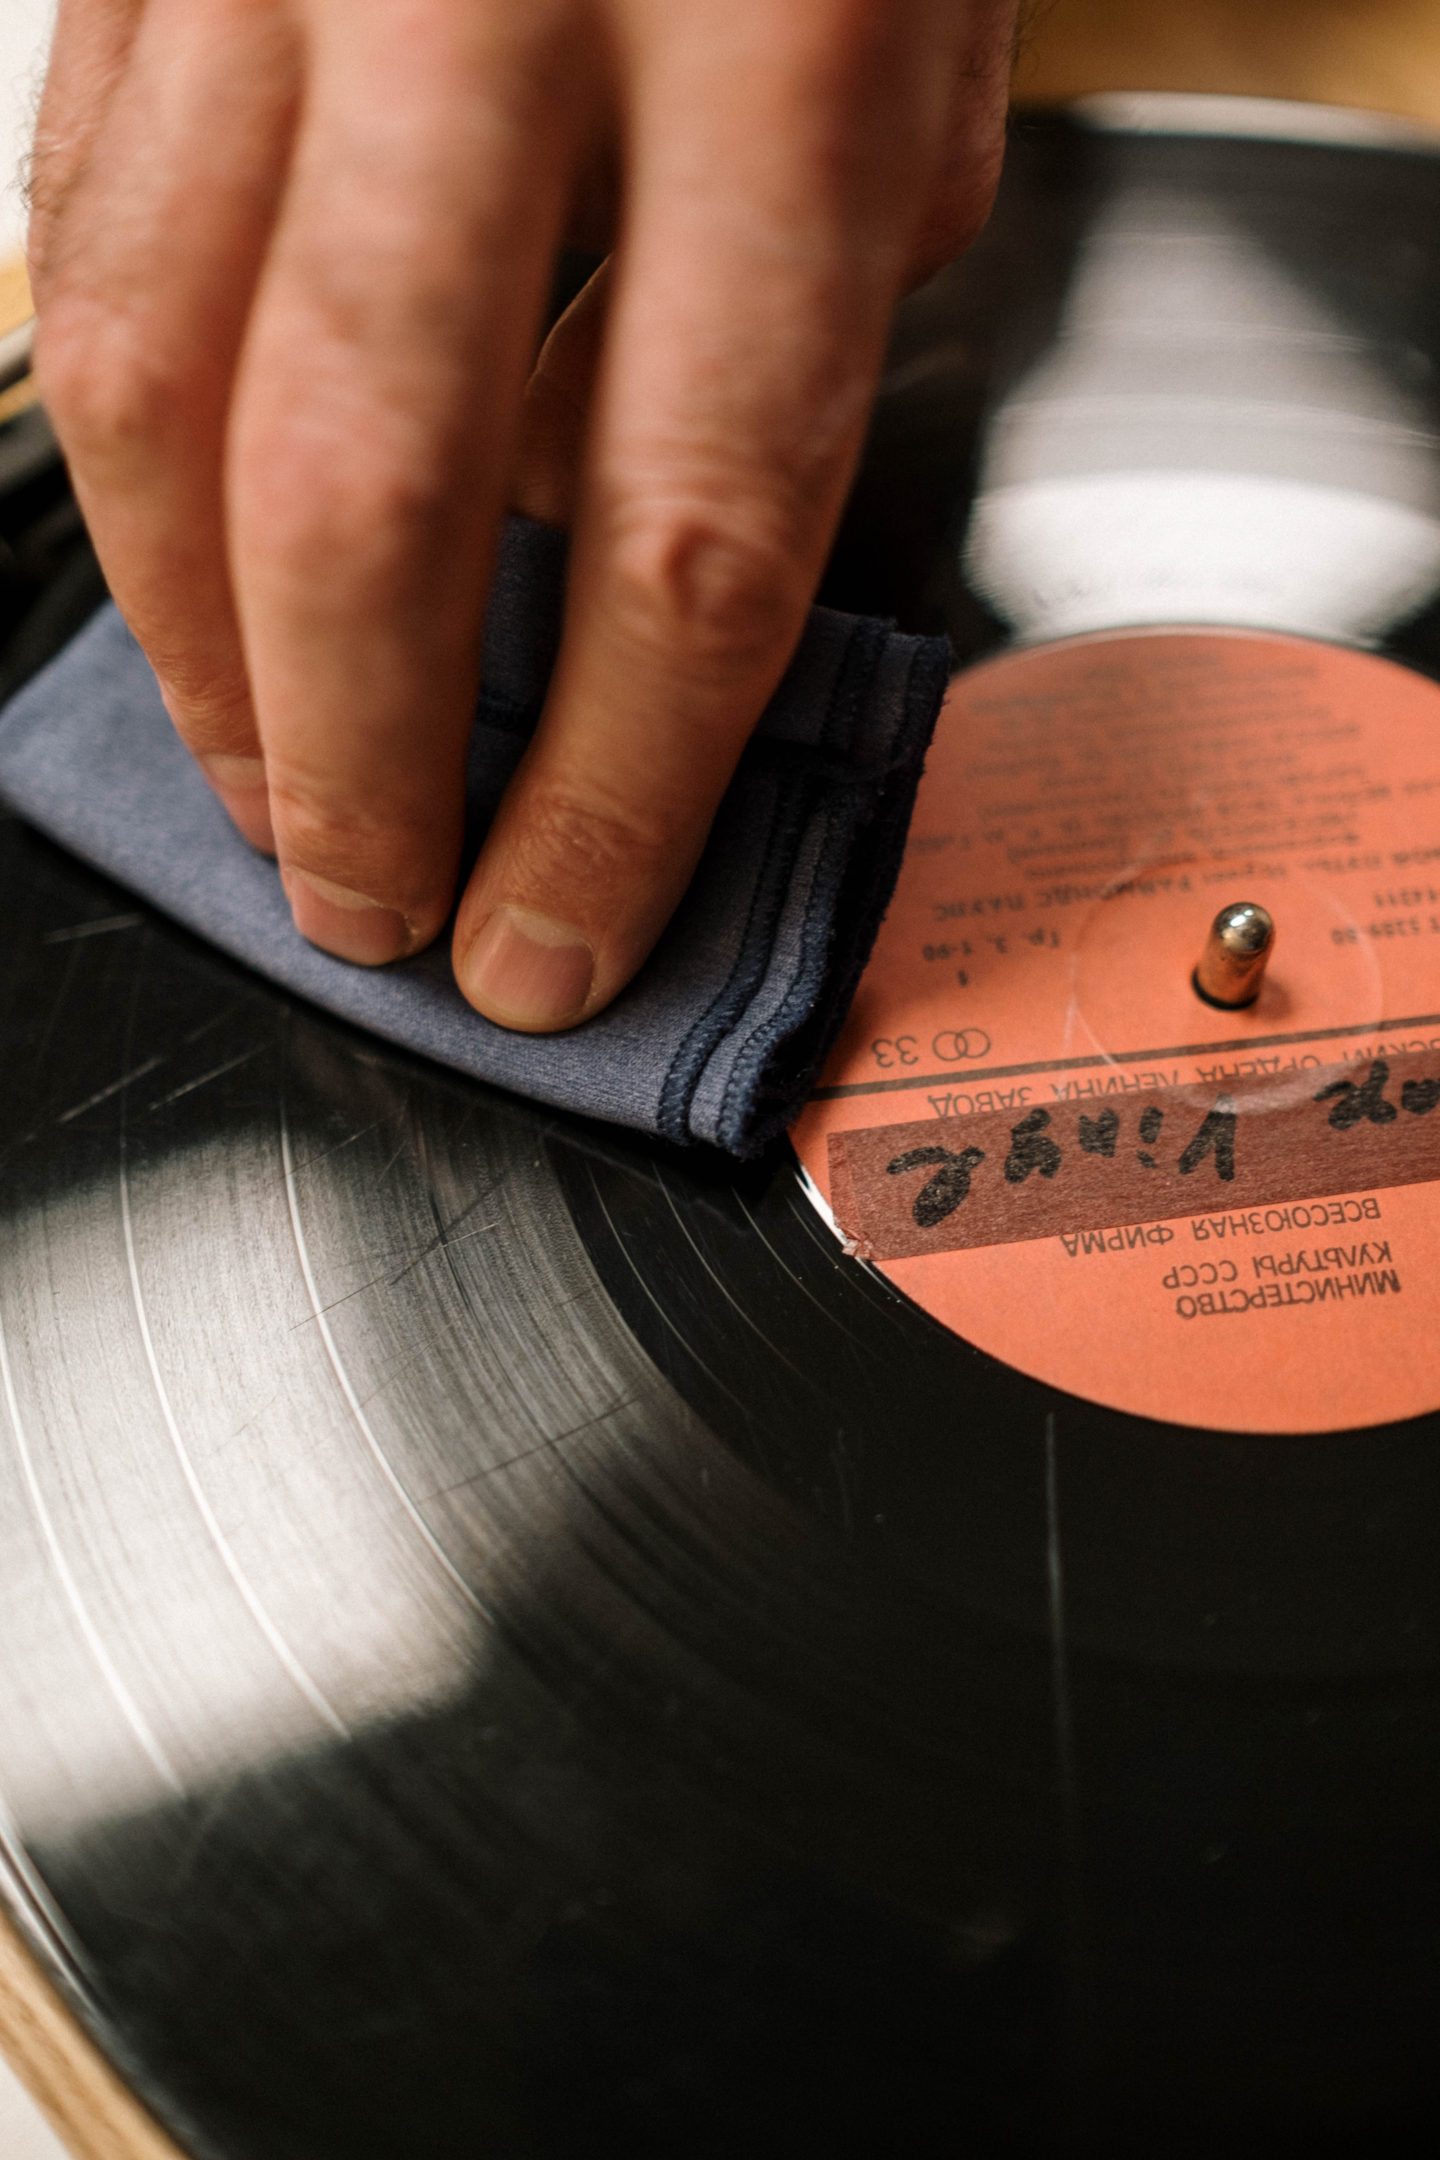
Gently rub the record with your index finger on the damp cloth or brush in a circular motion, following the grooves. Be careful not to apply too much pressure.
Rinsing and Drying the Vinyl Record
Rinse the vinyl record with distilled water, then dry it with a dry microfiber cloth or air dry. Never use a hairdryer or heater as it could warp the record.
Final Inspection and Playback Test
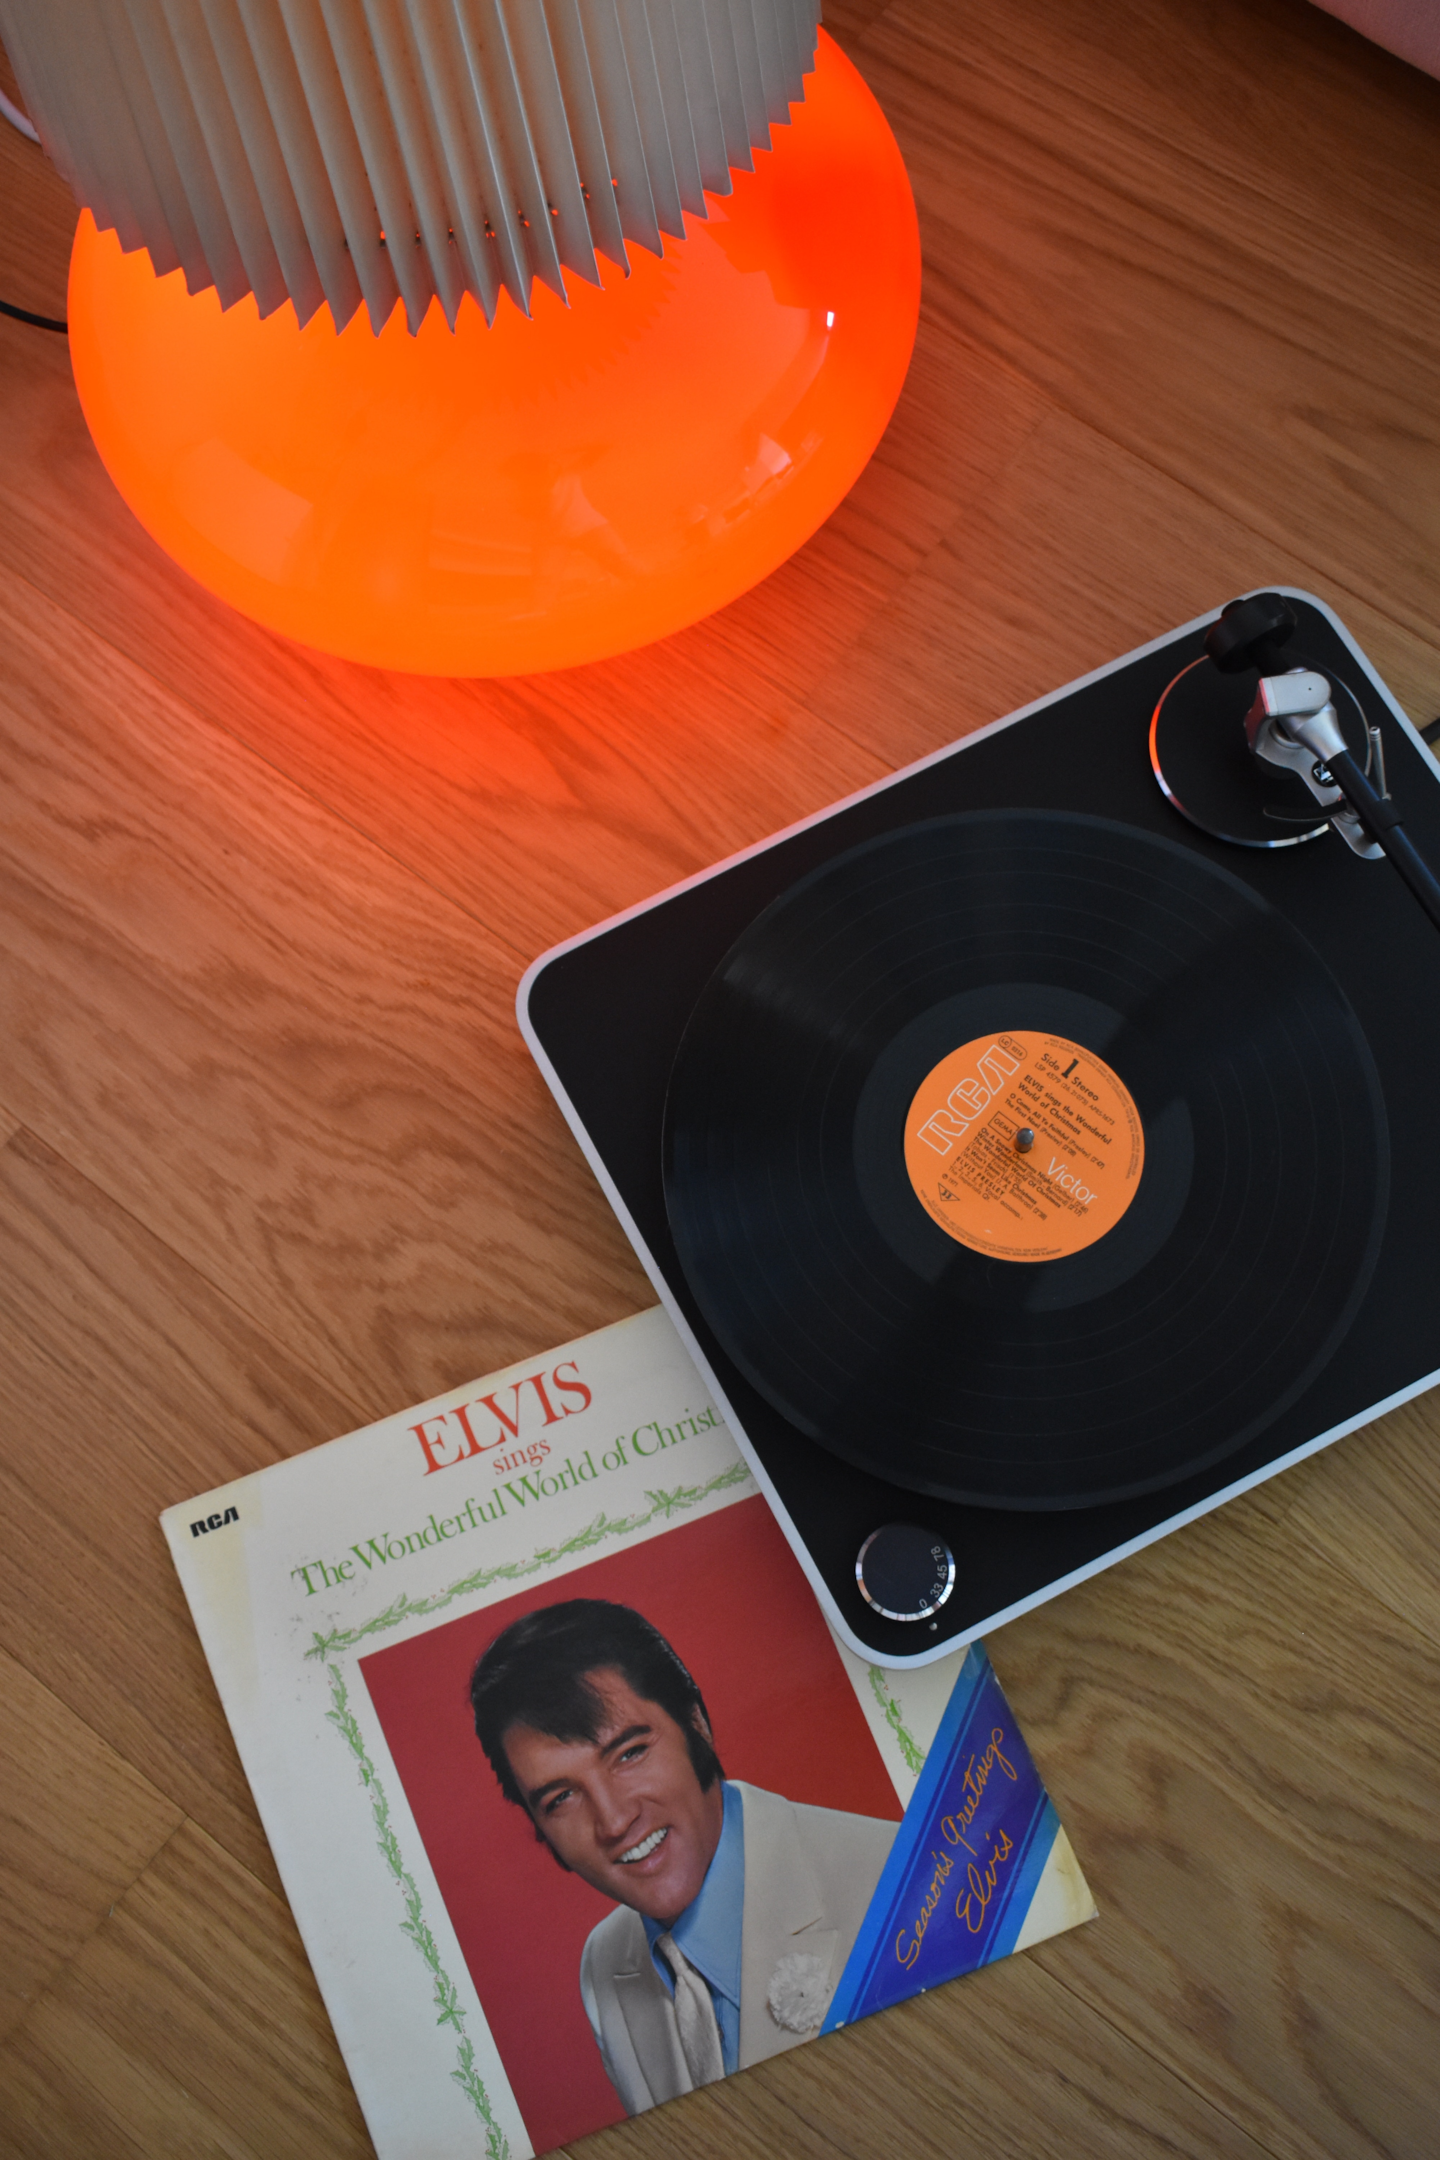
After the vinyl record is completely dry, give it another spin on your record player. The difference should be noticeable.
Cleaning the Stylus
A clean stylus is as essential as clean vinyl for optimal sound quality. Use a soft cloth and isopropyl alcohol for this task.
Also check out: If you're curious about how and when to replace your turntable stylus, look no further. Check out this comprehensive guide on Replacing Your Turntable Stylus: When and How to Do It for expert advice and step-by-step instructions. Keep your vinyl spinning smoothly and sounding great with this essential maintenance task!
Maintaining Clean Vinyl Records
To keep your records clean, store them vertically in plastic sleeves. Avoid touching the grooves and handle the records by the edges and label only.

Regular Cleaning Schedule For Your Vinyl Records
Maintaining a regular cleaning schedule for your vinyl records is vital for their longevity and the preservation of sound quality. Here's a recommended routine to keep your vinyl collection in top shape:
Before and After Each Use: Using a carbon fiber brush before and after each play is a good practice. This brush is designed to remove dust and static electricity from the record surface. Simply hold the brush and lightly wipe against the record as it spins, letting the carbon fibers do their work. The same process should be repeated after playing the record to ensure any loose dust or debris is removed.
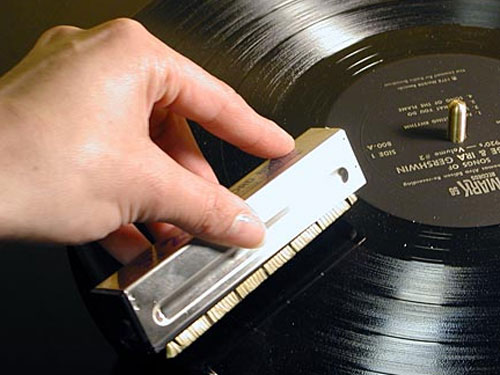
Weekly Cleaning: Depending on how frequently you use your records, a more thorough cleaning might be needed weekly. This involves using a record-cleaning solution and a clean microfiber cloth or a velvet brush. Apply the solution to the cloth or brush, then gently rub it on the surface of the record in a circular motion, following the grooves. Avoid applying too much pressure. It's important to avoid getting the record label wet during this process.
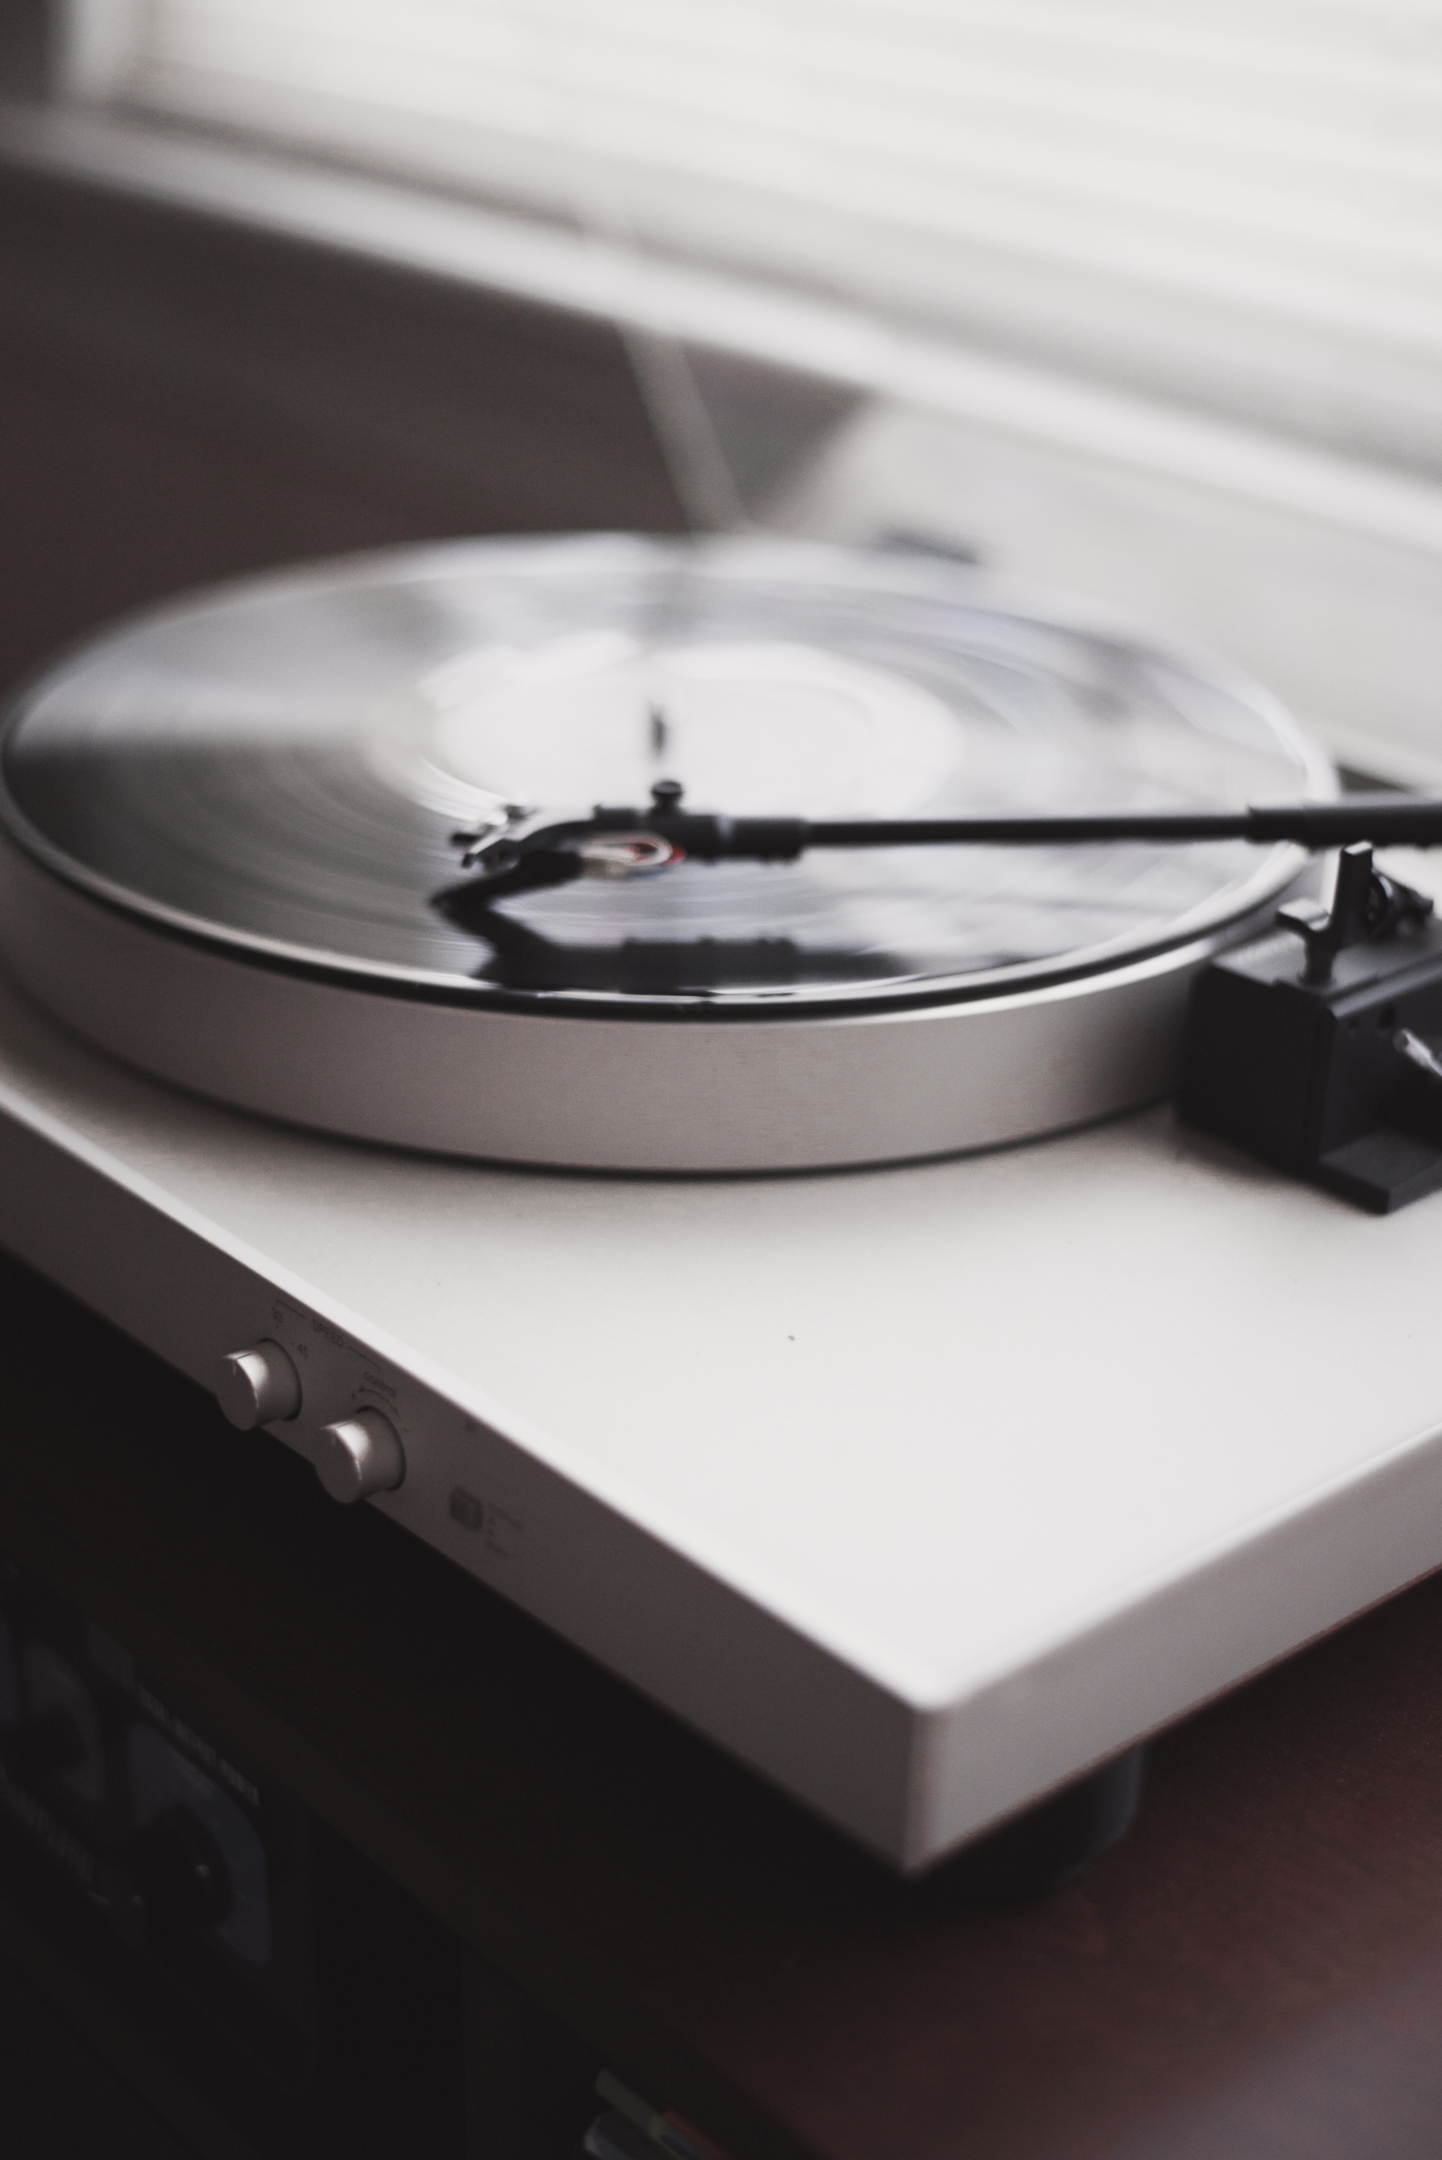
Deep Cleaning Every Six Months: Even with regular maintenance, records may need a deeper cleaning every six months. For this, you can use a record-cleaning machine or a vacuum cleaner designed for vinyl records. These machines can provide a thorough cleaning that removes grime from deep within the record grooves.
Remember, always let your records air dry completely before storing them.
By sticking to this regular cleaning schedule, you can ensure your vinyl records stay clean, reducing unwanted noise and enhancing your listening experience.
Common Mistakes to Avoid When Cleaning Vinyl Records
Avoid using tap water for cleaning or rinsing, as it can leave a residue. Also, never stack wet records - always ensure they are completely dry before storing.
Conclusion
Think cleaning vinyl records is just another chore? Think again! It's your golden ticket to preserving the soulful sound quality that's made vinyl a timeless classic. Vinyl isn't just a medium—it's a full-on sensory experience that's rocked generations. And to keep that experience pure and unspoiled, cleaning your records isn't just essential—it's an absolute must!
Cleaning your vinyl records might seem like a daunting task, especially if you have a large collection, but with the right knowledge and tools, it becomes a manageable and rewarding process.
Following these tips will equip you with the necessary knowledge to take care of your cherished vinyl record collection. With proper care and maintenance, you'll be able to enjoy the rich, superior sound of vinyl for many years to come.
